Photoshop Tools Practice
The best thing about Photoshop is that there are so many different ways to do the same thing. Today I want you to become familiar with the different uses of the tools. If you place your cursor over a tool it will show you the name and the short-cut key that will activate that tool. Spend 3 minutes testing the tools on a blank canvas and a practice image.
After you have tried the tools open the following images.
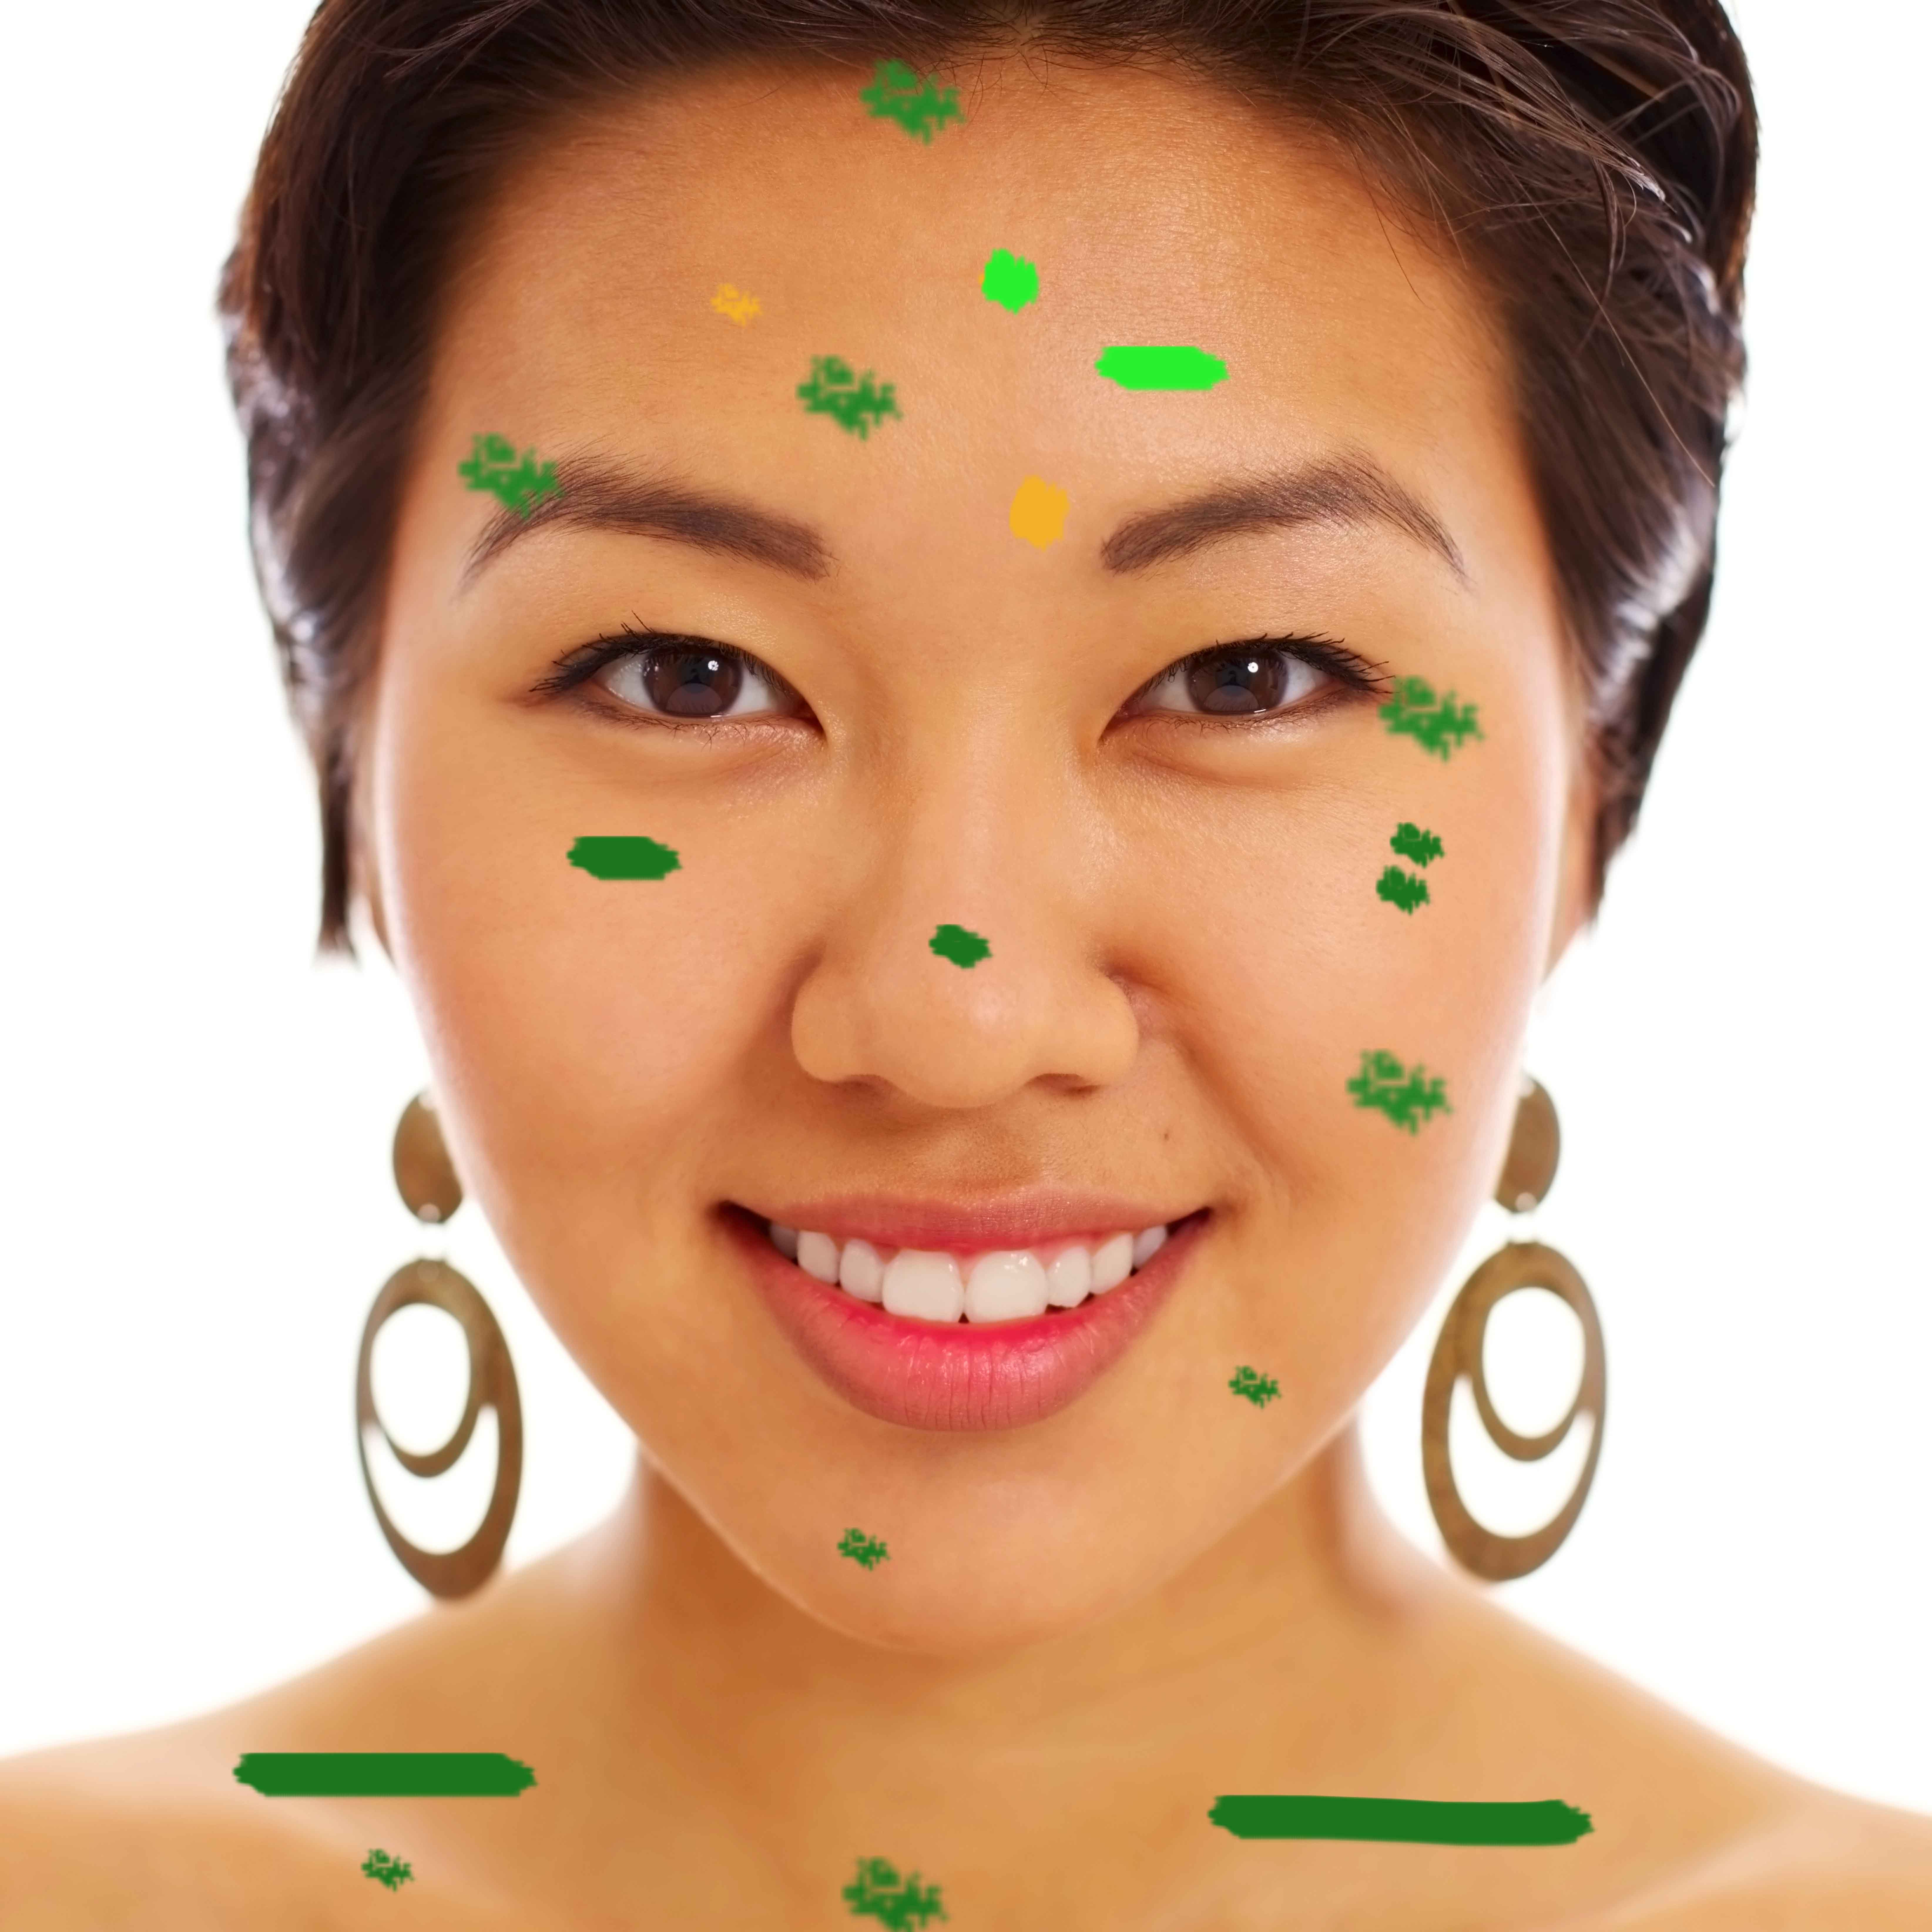
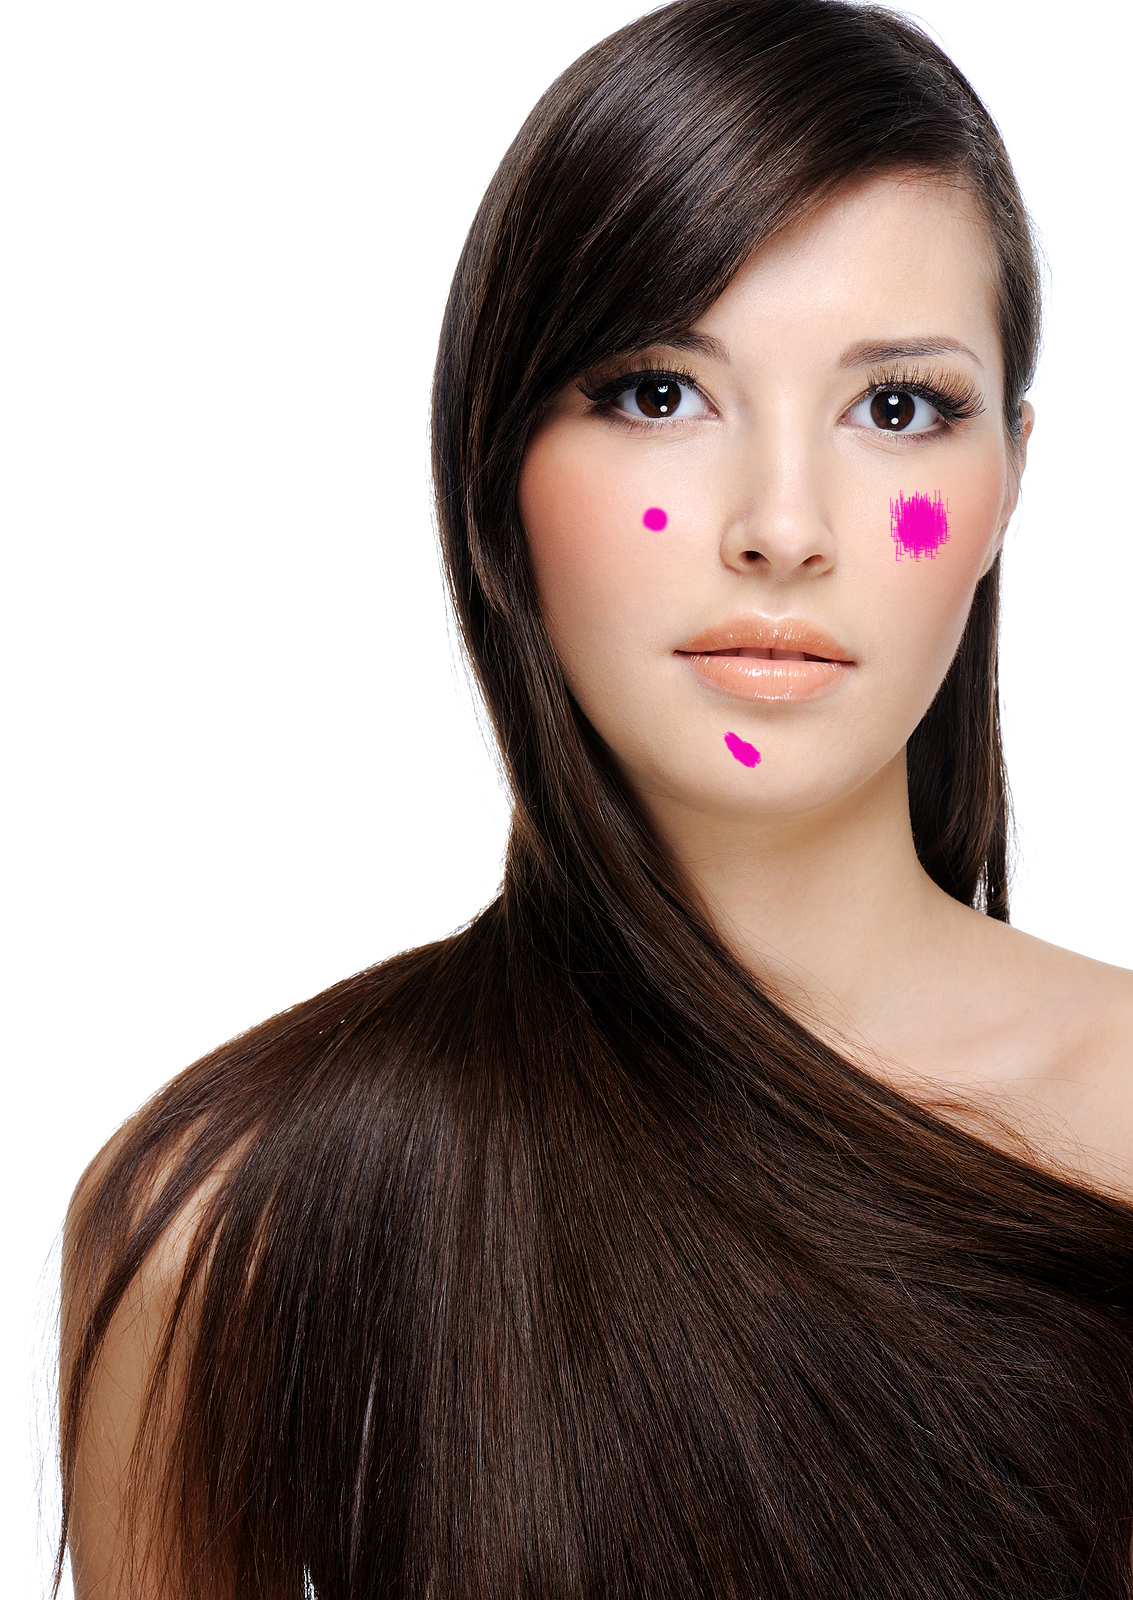
You are going to practice using the clone stamp and spot healing brush. The clone stamp tool requires that you first sample the area you would like to copy and it then stamps it to your new placement (you target and then paste). Note the cross that follows you as you move across your image - this represents what is being sampled. If it moves to far you will need to resample. The spot healing brush averages the pixels that surround it and tries to "guess" what you want.
You will clear the skin on the following two images. Make sure that you make your "corrections" on their own blank layer. Make sure that in the tool options bar you have selected to sample from all layers.
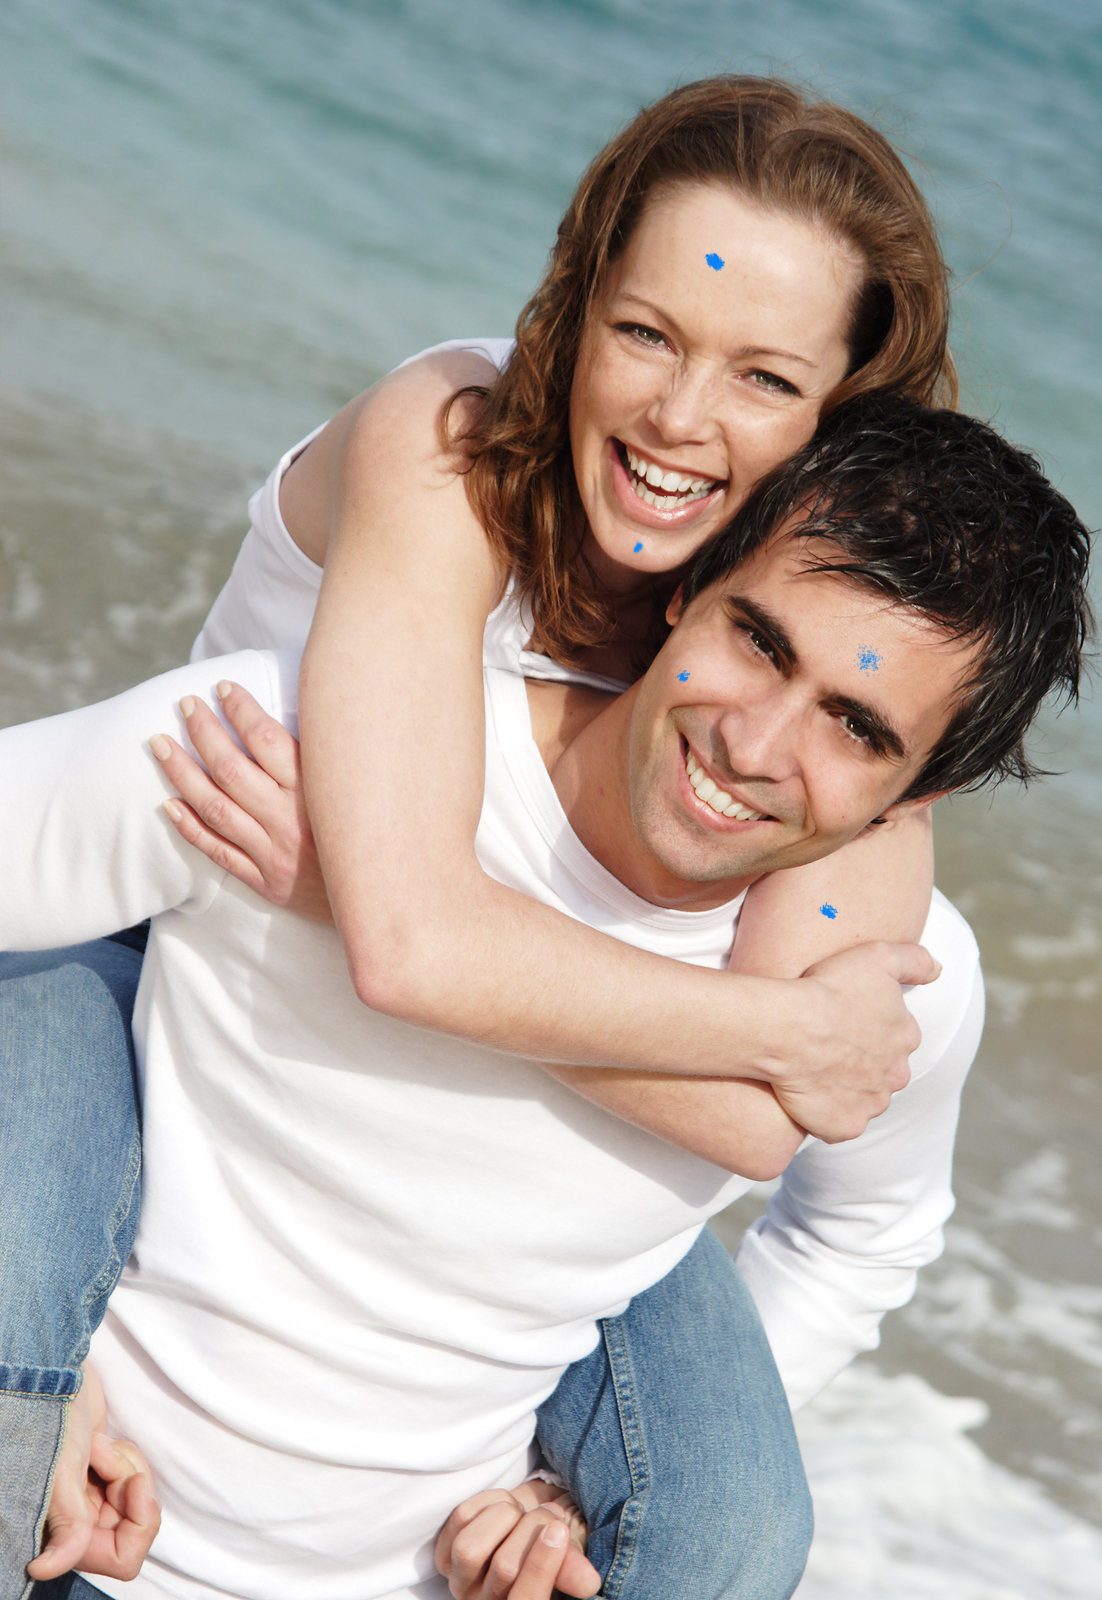
On the next two images you are going to use the "content-aware" feature in Photoshop. Make a general selection around the two people in the images and use the short-cut keys Shift+delete to bring up the Fill menu. Select content aware as the fill option and watch the people disappear from the image. You may need to use the Clone Stamp tool and the Spot Healing brush to clean up the image.
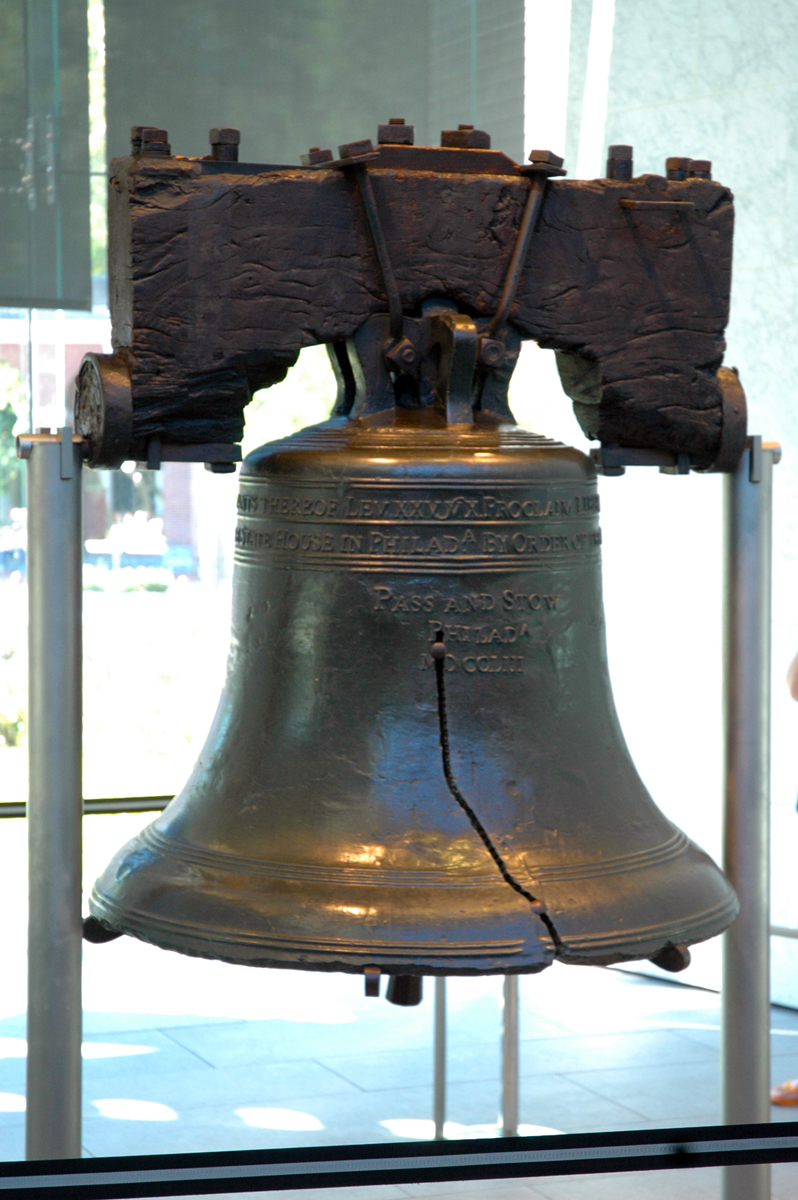
On the next two images you are going to make some colour changes. One option to do this is through Adjustment Layers. Make a selection around the object that you want to change the colour of, then go to the Adjustment Menu and select Hue/Saturation. Make sure the Colourize box is selected and use the above sliders to determine the colour of your choice. Since this created an Adjustment Layer you can edit this at anytime. By clicking on the layer you can change the colour. By activating the black and white mask (clicking on the thumbnail) you can paint with a black or white paint brush to control what is coloured and what is not (Black conceals and White reveals).
After you have tried the tools open the following images.
You are going to practice using the clone stamp and spot healing brush. The clone stamp tool requires that you first sample the area you would like to copy and it then stamps it to your new placement (you target and then paste). Note the cross that follows you as you move across your image - this represents what is being sampled. If it moves to far you will need to resample. The spot healing brush averages the pixels that surround it and tries to "guess" what you want.
You will clear the skin on the following two images. Make sure that you make your "corrections" on their own blank layer. Make sure that in the tool options bar you have selected to sample from all layers.
On the next two images you are going to use the "content-aware" feature in Photoshop. Make a general selection around the two people in the images and use the short-cut keys Shift+delete to bring up the Fill menu. Select content aware as the fill option and watch the people disappear from the image. You may need to use the Clone Stamp tool and the Spot Healing brush to clean up the image.
On the next two images you are going to make some colour changes. One option to do this is through Adjustment Layers. Make a selection around the object that you want to change the colour of, then go to the Adjustment Menu and select Hue/Saturation. Make sure the Colourize box is selected and use the above sliders to determine the colour of your choice. Since this created an Adjustment Layer you can edit this at anytime. By clicking on the layer you can change the colour. By activating the black and white mask (clicking on the thumbnail) you can paint with a black or white paint brush to control what is coloured and what is not (Black conceals and White reveals).


|
|
| ||||||
|
|
| ||||||
|
|
| ||||||
