Typography
|
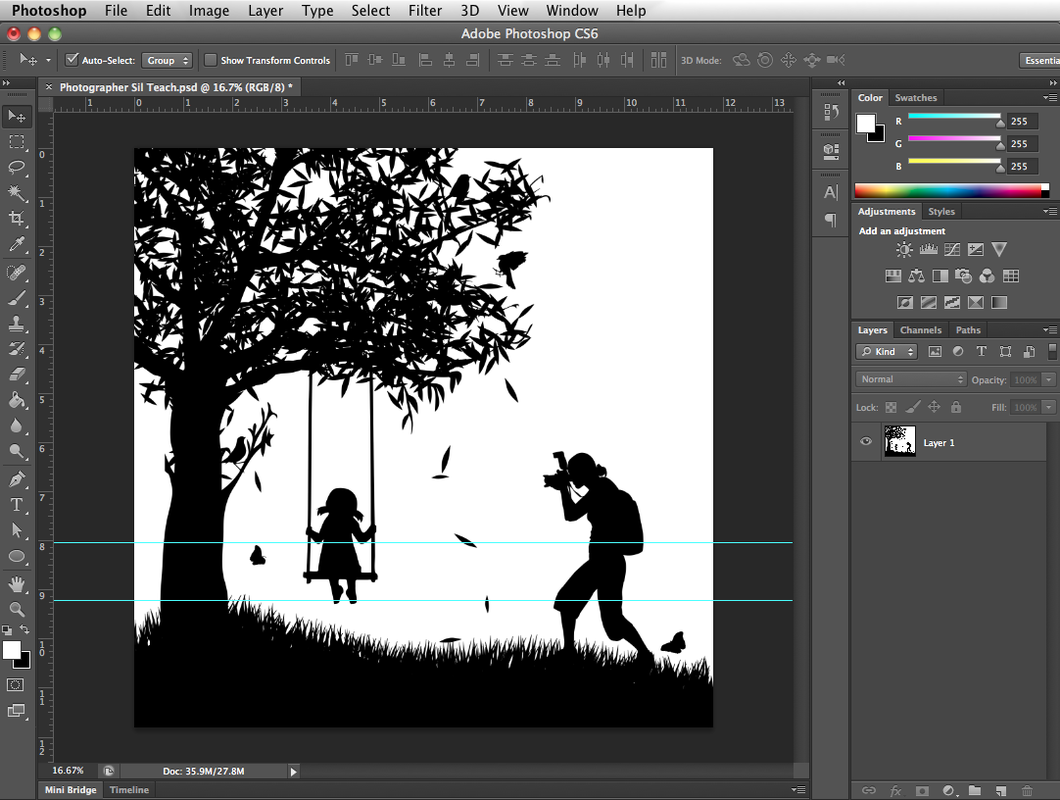
Step 1 - Create a silhouette. I combined multiple image to get to here.
Note - Always open a new document and set your size and resolution. For no reason other than wanting to create a square image I selected 30 cm x 30 cm. I set my resolution to 300 ppi so that it will be print quality. If you do not have a large enough canvas with high enough resolution you will end up with a pixelated image and it will not be print quality if you do choose to print. |
|
|
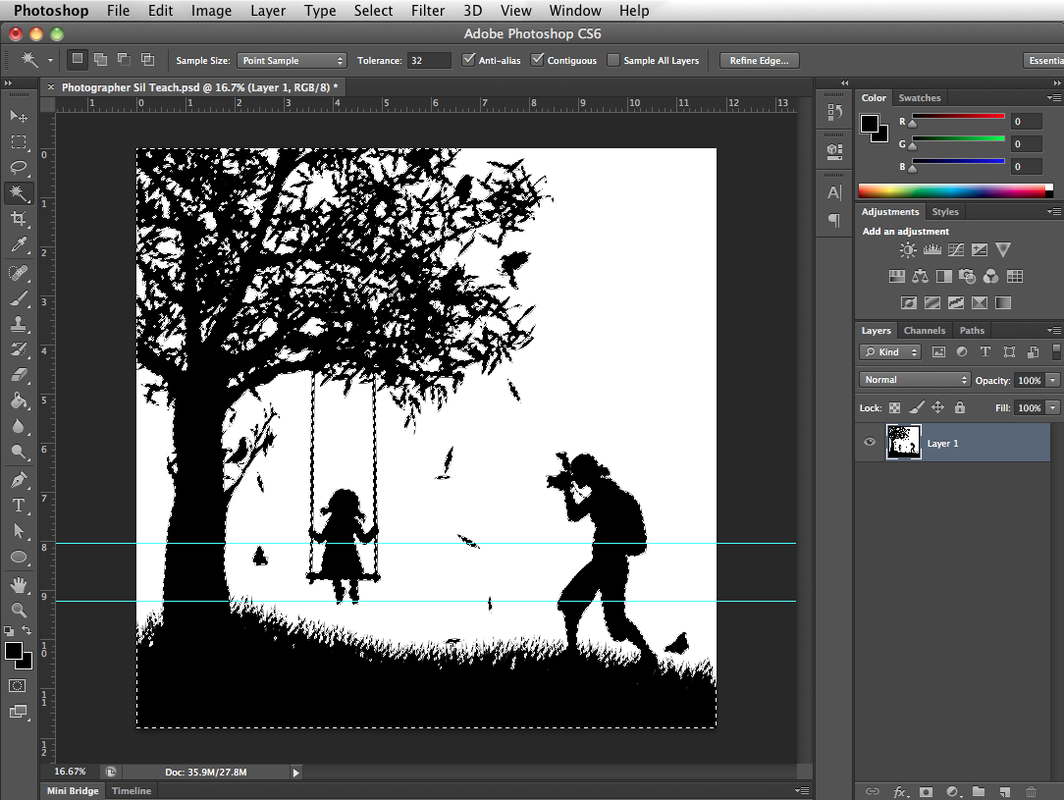
Step 2 - Make a selection of the black silhouette portion of image.
Note - there are multiple ways to do this here are two: 1. Magic Wand - hold shift to add 2. Under the Select Menu - Colour Range - Use the eye dropper and touch black - ok |
|
|
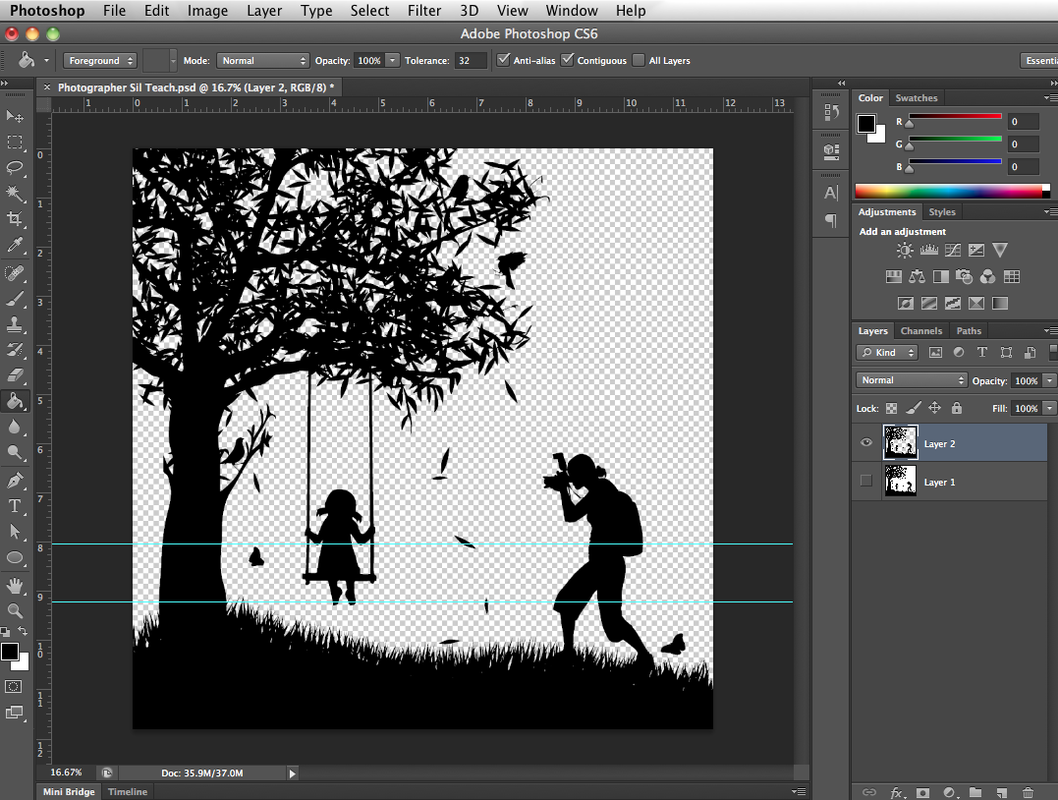
Step 3 - Create a new blank layer and fill your selection with black.
Note: This step is more important if your silhouette is not on a while background. This step is required if you plan to change your background colour in the end. I try to always work non-destructively - meaning that I can easily un-do at anytime and I am not limited to my history. You should now have a transparent background behind your image. |
|
|
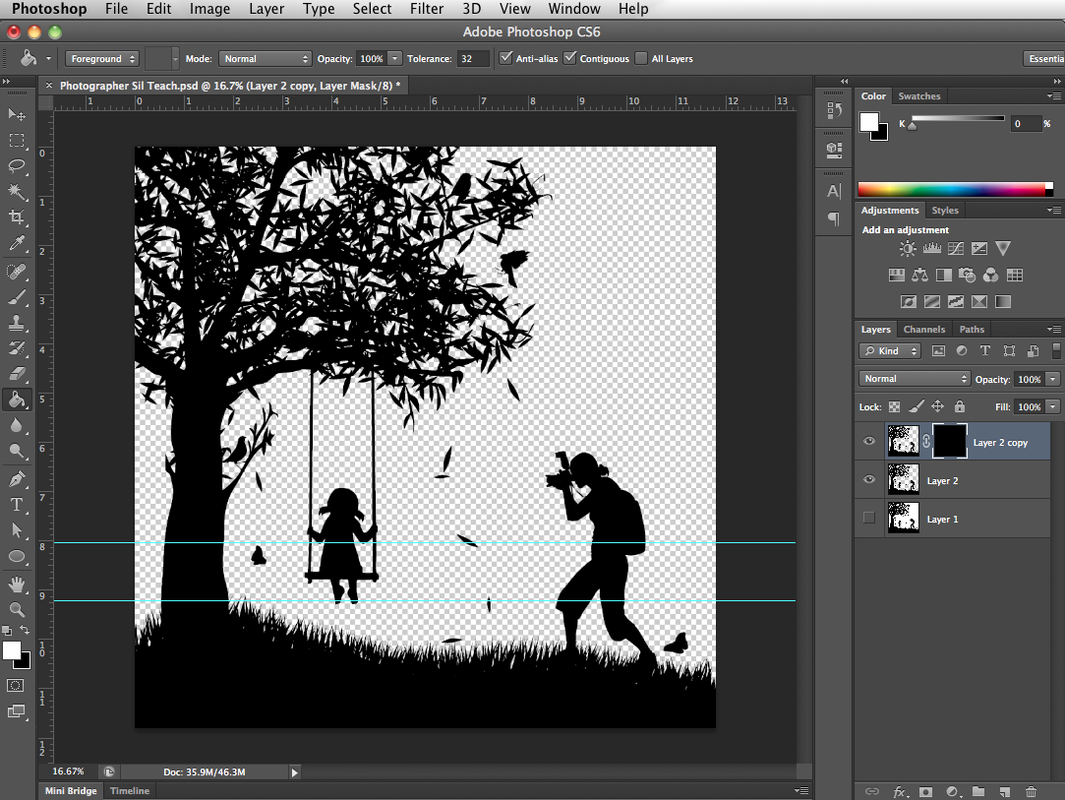
Step 4 - I first copied my layer 2 - this way I am not working on the original (if I make a mistake I can just delete and start again from here) and I will be able to use the original layer to "cheat" and see what I am doing.
Step 5 - I will create a mask and fill it with black (note that this makes the layer disappear - "Black conceals and White reveals") - You will not see a difference because layer 2 is still on (see the eye ball beside the layer). |
|
|
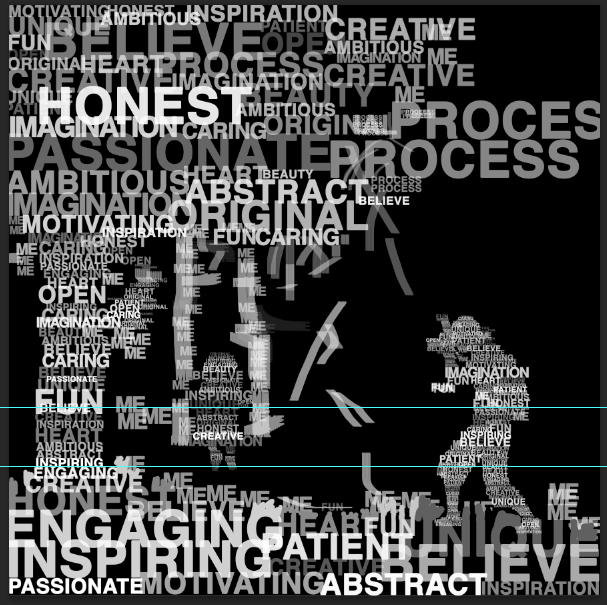
Step 6 - I am now going to paint on the mask to have the image come back.
I will create a new layer above layer 1 and fill it with white. I will drop the opacity of Layer 2 so that I can just get an idea of where the image is (say 20%) I will select a brush that I already made (I will show this in the next step) and paint on the mask with white (I will change the opacity and size of my brush with each word to give variation - shade of gray and size of text). |

|
|
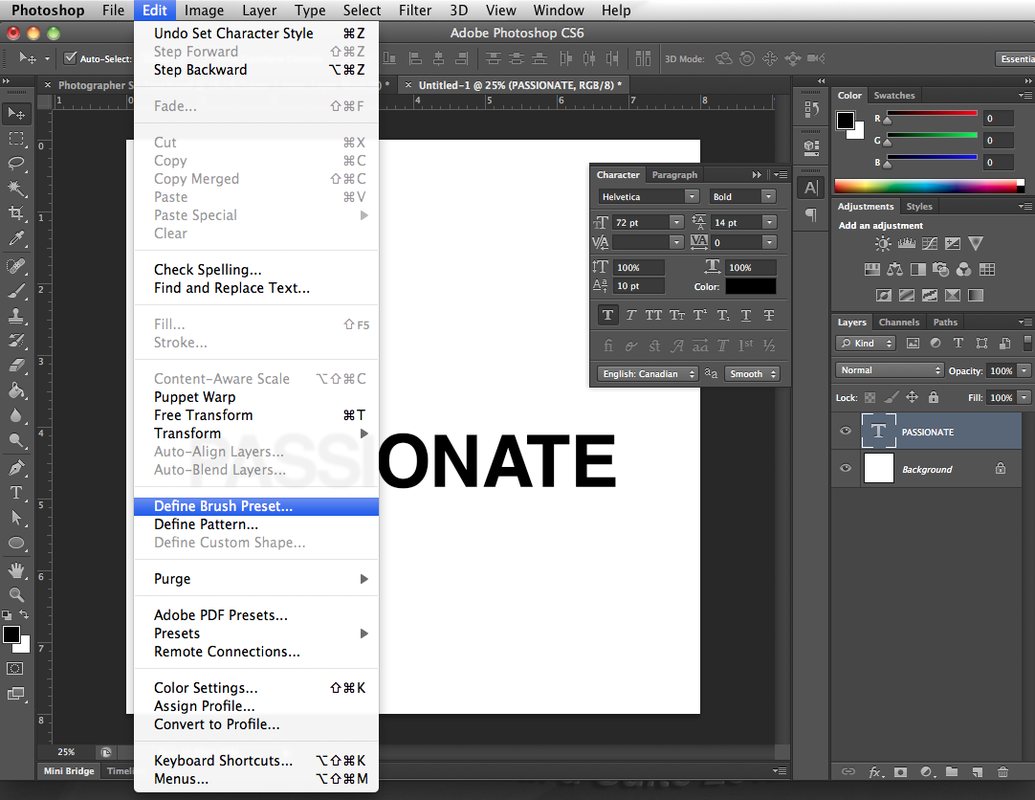
Step 7 - Creating your brushes. You can download brushes and often for free but you will be limited to your word choices and font selection so I recommend creating your own.
Open a new document (size is not important I usually create my document at 8 inches x 8 inches (because paper is 8.5x11 and that is the size that I think best with so I am always thinking paper - I know 8x8 is not paper but it is easy to type is). Now your font size does set your default brush size and this can be annoying when using it on your silhouette that you are constantly making your brush smaller -- this did not bother me so I will keep it the same. Pick a favourite font (I selected Helvetica) and type a word. You might want to consider kearning (space between letters - this can be adjusted by placing your cursor between the letters and on a Mac "option+arrow left" - makes letters closer or "option+arrow right" - makes letters farther apart). I picked a bold font and added the faux bold option in the character menu. Then select the move arrow so you no longer have the text tool selected - Under the Edit menu select define Brush Preset - You only need to name your brush if you are like me and follow all rules - I found this easier to find a brush from the menu when working later so I named them the word that they represented. Now create as many words as you need for your artwork. I suggest varying the length of words (a couple short words like fun and me were very helpful). Only have the word that you want to be a brush visible when creating the brush. |
|
|
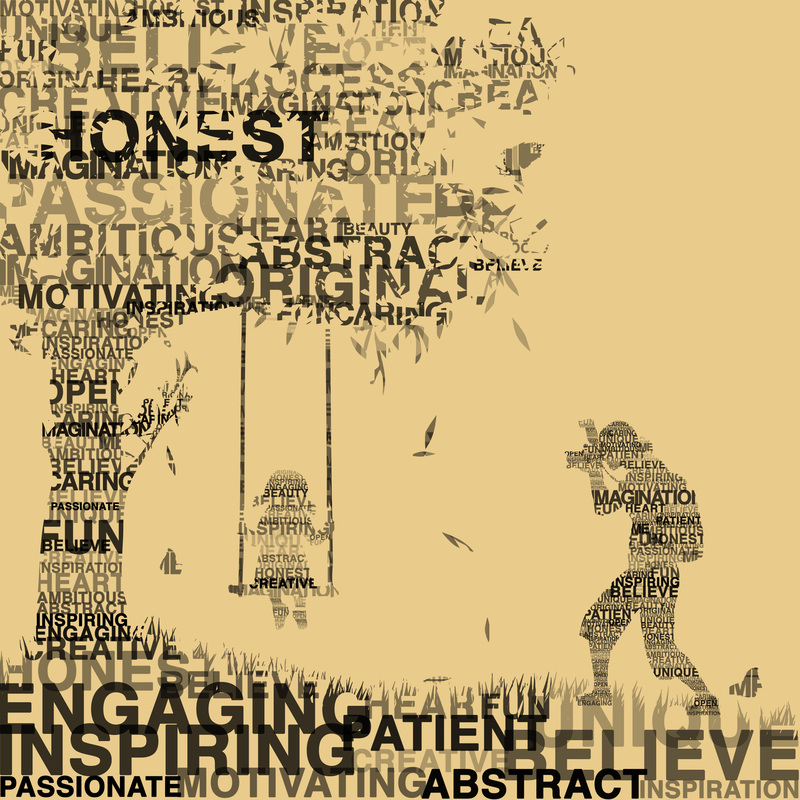
Step 8 - Place your words randomly across your image painting with your word brushes with white on your mask. Remember to vary your size (the short cut keys are the open and closed square brackets [ ] ), and the opacity of your brush (found in the tool options bar at the top of the page).
|
|
|
Take a closer look at the mask.
|
|
|
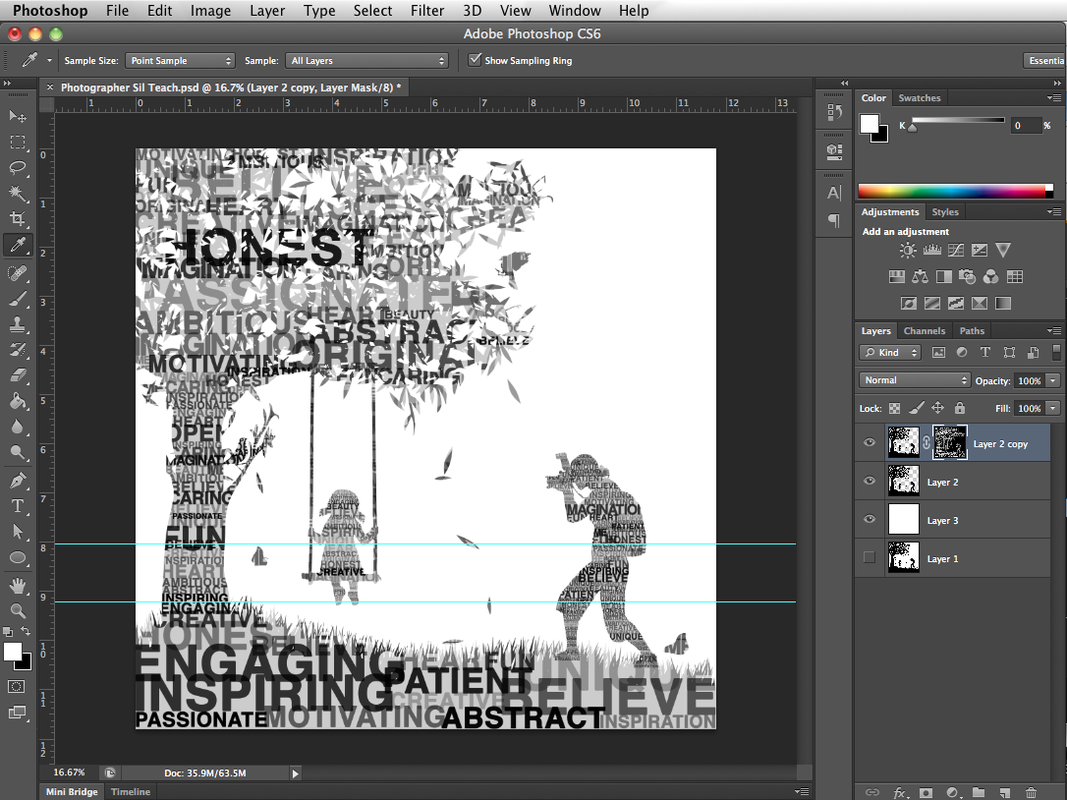
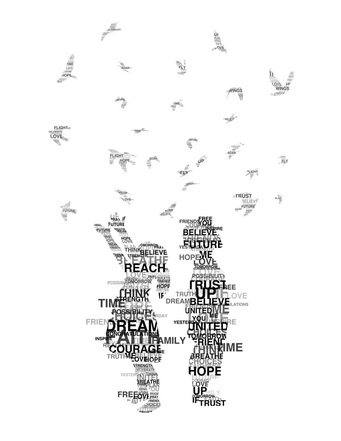
Step 9 - Turn off layer 2 (click on the eye ball)
Add a new layer above the white layer (Layer 3). And fill with a colour of your choice. Note: I might have cheated and added a few extra paint strokes with a round brush to show the details where the words did not cover - for example the grass tips and the small leaves and the rope for the swing. (I feel better that I shared that). Leaving layer 2 on with a decreased opacity looks cool so if you like that effect feel free to use your own artistic creativity. If you pick a better silhouette with bigger leaves you can use words to create them but I felt that in this image they would be impossible to read so they are just brush strokes. I hope I included all the steps you would need. Be creative and be willing to try more than once. And don't forget to have fun. |

|
|
|
